今回はWordPressでECサイトが構築できるプラグイン「woocommerce」についてのお話です。購入ページに入力フォームを追加したい場合のカスタマイズ方法について紹介します!
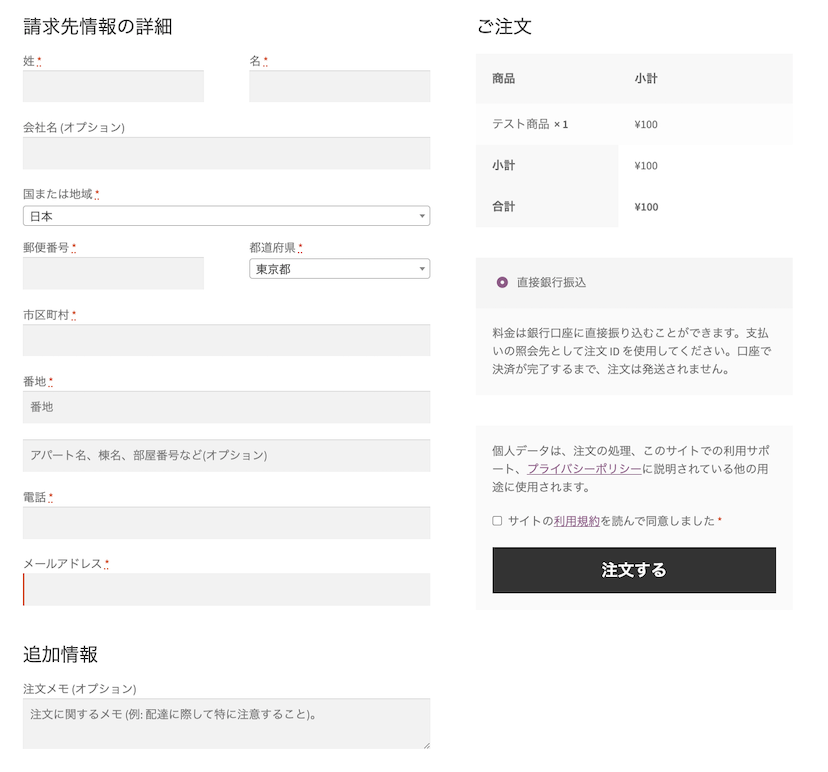
現状の購入ページ
準備:子テーマを作成する
①子テーマディレクトリを作成する。
作成場所はwp-content/themesディレクトリ下になります。
子テーマのディレクトリ名は任意ですが「親テーマ名-child」のような名前が一般的です。
(例:storefront-child)
②子テーマディレクトリ内にstyle.cssファイルとfunctions.phpファイルを作成する。
style.cssには下記のスタイルシートヘッダを記述します。
/*
Theme Name: Storefront Child
Theme URI: http://example.com/storefront-child/
Description: Twenty Twenty-One Child Theme
Author: John Doe
Author URI: http://example.com
Template: storefront
Version: 1.0.0
License: GNU General Public Licence v2 or later
License URI: http://www.gnu.org/licenses/gpl-2.0.html
*/
| Theme Name: | テーマの名前 |
|---|---|
| Theme URI: | テーマのドキュメントを確認できる場所 |
| Description: | テーマの説明 |
| Author: | テーマの作者名 |
| Author URI: | テーマの作者のwebサイト |
| Template: | 親テーマが保存されているフォルダ名 ※ここの記述を間違えてしまうと子テーマを作成することができません。 |
| Version: | テーマのバージョン |
| License: | テーマのライセンス |
| License URI: | ライセンスに関する情報のリンク |
functions.phpには下記を記述します。
add_action( ‘wp_enqueue_scripts’, ‘theme_enqueue_styles’ );
function theme_enqueue_styles(){
  wp_enqueue_style( ‘parent-style’, get_template_directory_uri() . ‘/style.css’ );
  wp_enqueue_style( ‘child-style’, get_stylesheet_directory_uri() . ‘/style.css’, array( ‘parent-style’ ) );
}
③子テーマを有効にする。
WordPress管理画面の外観>テーマに進むと作成した子テーマが表示されています。こちらを有効化し、子テーマの作成が完了です!
アクションフックを使用する
子テーマに作成したfunctions.phpに下記を記述します。
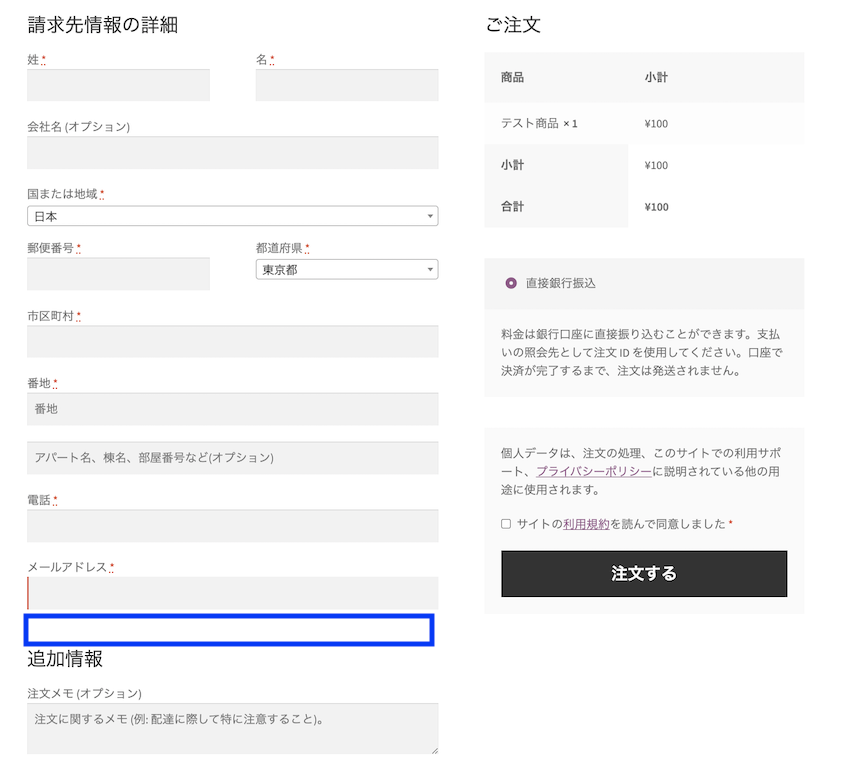
add_action( 'woocommerce_before_order_notes', 'custom_field' );
woocommerce_before_order_notesがフックとなり画像の青枠部分にフィールドを作成することが可能になります。
上記の記述の下に続けてフィールドを追加する関数を記述します。
function custom_field($checkout){
  woocommerce_form_field( 'custom_field', array(
    'label'      => '生年月日',
    'type'       => 'date',
    'required'   => true,
    'class'      => array('customer_birthday_field form-row-wide'),
    'clear'      => true
  ), $checkout->get_value('custom_field'));
}
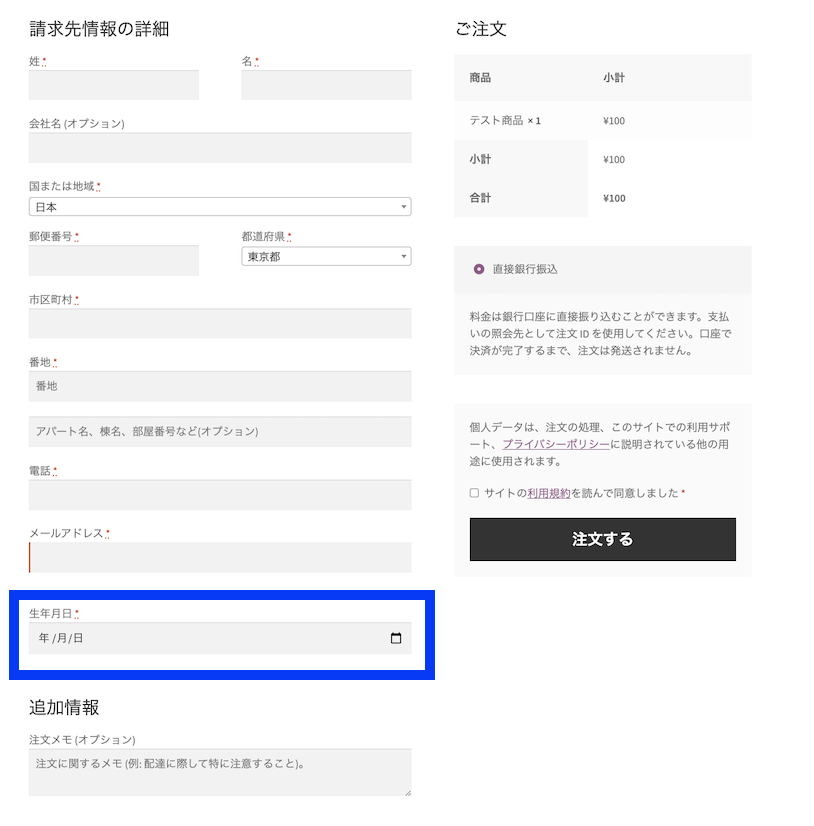
こちらで生年月日を入力するフィールドを作成することができました。
最後までお読みいただきありがとうございました!

Webエンジニアとして勤務。
観劇と音楽が趣味です。
最近のコメント